
There is a quality that separates content from brands you trust from content that makes you scroll past. Something just looks right. The colors feel intentional. That quality is almost always the result of deliberate color choices applied consistently. CapCut’s online video editor includes a full suite of color grading tools in your browser.
Small adjustments to contrast, saturation, highlights, and temperature can completely change how professional your content feels. A warmer tone can make a café or lifestyle brand feel more inviting, while cooler tones can create a cleaner, more modern look for tech or skincare products. Consistent color grading also helps your posts feel connected when someone scrolls through your profile. Instead of looking like random uploads, your content starts to resemble a carefully designed brand experience. Over time, viewers begin to recognize your style instantly, which strengthens trust and makes your business appear more established online.
Why Color Consistency Builds Brand Recognition Faster Than a Logo
Most small business owners think about brand recognition in terms of logos and taglines. Those matter, but they are not actually the first thing most people recognize about a brand they follow. What they recognize first is the visual feeling. The warm, slightly desaturated look of a coffee brand. The clean, bright aesthetic of a skincare company. These visual signatures become so strongly associated with the brand that a viewer can identify the content before they even see the account name.
Building that recognition requires applying the same color treatment consistently across every piece of content. Apply the same filter preset and adjustment values to every photo and video you create. Doing this produces a feed that looks cohesive even when images were taken in completely different locations and lighting conditions. Using an online photo editor also makes it easier for small businesses to maintain the same visual style across teams, devices, and campaigns without needing advanced design experience. Over time, that consistency trains audiences to associate a specific mood, tone, and aesthetic with your brand automatically.
Repurposing Color-Graded Content Across Formats
Once you have created a color-graded video, that footage also contains audio content that can live independently. If you recorded a product walkthrough, a brand story, or a customer testimonial with strong spoken content, you can extract audio from video. Go to Tools in the CapCut menu, click Audio Extractor, upload your finished video, and download the audio as an MP3. That clean audio can become a podcast clip, a voiceover for a different visual, or a standalone audio post.
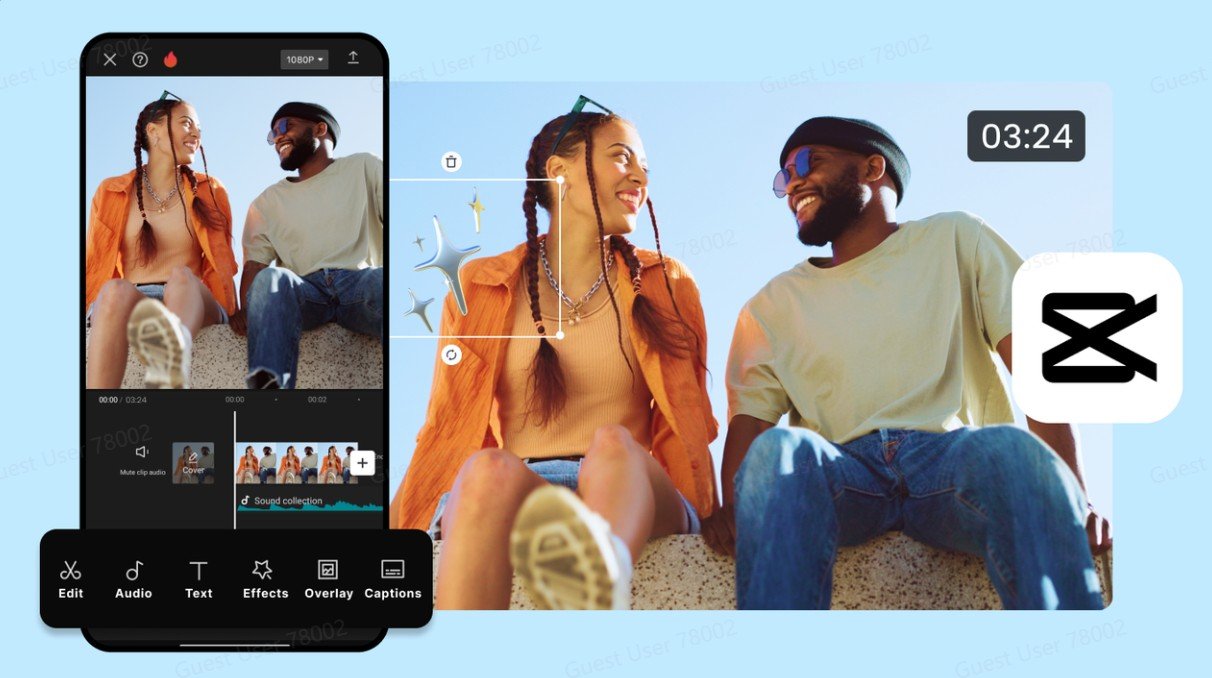
How to Color Grade Your Videos in CapCut: A Step-by-Step Guide
CapCut’s Filters and Color Adjustment tools live inside the video editor. Go to CapCut.com and click Create new in the top left corner.
Step 1: Create a New Project and Upload Your Clip
Click Create new in the top left corner of the CapCut homepage. A dropdown menu will open showing three columns: Video, Image, and Magic tools. Under the Video column, click Blank canvas.
The editor will open with an empty timeline. On the left-hand panel, click the Media icon at the top. Click Upload file and select your video clip from your device. Once uploaded, drag the clip from the media library down onto the timeline at the bottom of the screen. Your clip will appear as a thumbnail strip on the timeline, ready to edit.
Step 2: Apply a Filter and Open Color Adjustment
Click on the Filters icon in the left-hand panel. The filter library will open on the left, organized into categories including Featured, Hits, Life, Photo Booth, Pet, and Landscape, each with named presets such as Baby Pink, Dreamy R., Pearl Glow, and Sky Glow. Click any filter thumbnail to apply it to your clip. It will appear as a colored bar above your video clip on the timeline.
With the filter applied, click on your video clip in the timeline to select it. On the right-hand panel, click Basic at the top. You will see a Color adjustment section showing Basic, HSL, and Curves as sub-tabs. Click Color adjustment to expand it. You will also see Blend controls with Mode set to Normal and an Opacity slider currently at 95 percent, as well as Stabilize and Reduce image noise toggles below.
Step 3: Fine-Tune Color Settings and Export
Inside the Color adjustment panel, you will see three tabs at the top: Basic, HSL, and Curves. The Basic tab is selected by default and shows two sections: Color and Lightness. Under Color you have sliders for Saturation, Temperature, and Hue, each starting at 0. Under Lightness you have a Brightness slider also starting at 0. You can also toggle on AI color correction at the top of the panel to let CapCut automatically balance your clip. At the bottom of the panel, click Apply to all to copy these color settings across every clip in your project at once. When your grade looks right, click the Export button in the top right corner.
The Export settings panel will open on the right, where you can set the Name, Resolution (currently 720p), Quality (currently Recommended quality), Frame rate (currently 30fps), and Format (currently MP4). Click the teal Export button at the bottom to download your color-graded video.
The Visual Identity That Keeps Working for You Over Time
A well-defined color grade is a brand asset that works in the background of everything you create. It takes a single focused session to establish your look and about ten minutes to apply it to each new piece of content you produce. Over months and years, that consistency builds the kind of visual recognition that makes your content feel familiar before a single word is read.
You do not need a brand agency to build this. You need a clear decision about how you want your content to feel and the discipline to apply that decision every time you create something. CapCut gives you the tools. The decision is yours.